COV-19 CORONA VIRUS PHOTOGRAPHY CHECKLIST
OK so it's only been a few days and you're thinking, "How long can I last this stay-at-home thing????"
I feel your pain!
But honestly, I say to my kids, "Boredom is just a lack of imagination".
Perhaps that's just my excuse for not having to entertain them...
But there's some truth in it.
YOU'RE NOT BORED!
YOU'RE JUST LACKING INSPIRATION!
Well as the saying goes, 'Never Fear, Tom is Here!"
I've come up with a super-duper checklist to help you. Because, to be honest, these are unique times.
How often do we get the time to work on our photography? We always wish for more time to shoot, more time to edit, more time to plan that next adventure.
WELL, GUESS WHAT?
That time is now!
So let's make the most of it and know that when this is all said and done, we can look back and know we used that time wisely.
So here's my COV-19 CORONA VIRUS PHOTOGRAPHY CHECKLIST...
ENJOY!
SHOOTING
1. KNOW YOUR CAMERA

Let's start from the start and get back to basics. How well do you really know your camera? Do you know what each function does? Do you know what all those options in the menus allow you to do?
The most common problem I find most new photographers have is that they don't know how to change the settings. They've heard of the word aperture but not sure how to change it on their camera.
Now's the time to get your camera out, sit and play with it a while and get to know it inside out.
NEED A HAND?
I wouldn't recommend the camera's manual as they often don't make sense. Why do you think my One Day Beginner Courses book out every month?
Come along and I'll show you how to use it properly.
Failing that, I would jump on YouTube and search for your camera model. Often someone has kindly made a video to step you through the main functions and what they do.
2. KNOW YOUR CAMERA MENUS
The camera menus have a wealth of good information in them. It's just a matter of having a degree to understand them!
Many photographers write eBooks about what each camera menu does - Google "(Your Camera Make and Model) camera menu explained" and see what comes up.
Once you know your camera's options, you can often save your favourites - or most often accessed - to a favourites menu in your camera.
Good luck!
3. KNOW YOUR HISTOGRAM

It's one of the most useful functions on a digital camera yet I'm amazed at how many people don't use it. Or they don't know how to find it in the first place!
That's ok. That's why I take the time to explain it thoroughly in my introductory One Day Beginner Courses.
Knowing your Histogram - what it means and how to adjust it - means that you should NEVER take a bad exposure again.
4. FIND YOUR FAVOURITE SETTING
If you don't have one already, find your favourite setting on your camera.
I have one - TV (or Shutter Priority).
My first job as a professional photographer was in sport. So you can imagine, Shutter Speed was everything! So I basically shot for 3 years using Shutter Priority.
It's my GO-TO function on my camera now when I'm hand holding it. It feels very comfortable to me to switch to Shutter Priority and blast away.
Know what feels good for you and use it!
5. UNDERSTAND HYPER-FOCAL FOCUSING
WHAT?
Yep I thought as much. When shooting landscapes, people often ask me, "Where do I focus?"
The best place is approx. one-third from the bottom of the frame when using a wide-angle lens.
WHY?
Because depth of field (DOF) works one-third in front of the focus point (where you decide to focus) and two-thirds behind, to maximise DOF and therefore have as much in focus as possible, it's best to focus one-third from the bottom.
A good explanation about this technique is here...
https://www.youtube.com/watch?v=EVsafF9nmBo
6. USE A DIFFERENT LENS
Ok so you no doubt have a favourite lens. But what about that lens that always gets left in the bag?
Let's drag that one out and give it a go for a change!
Perhaps it's a 50mm lens you hardly use - why not Google "BEST SHOTS USING A 50MM LENS" and see what comes up for inspiration.
Oh look! Here's a video -
https://www.youtube.com/watch?v=rgLDxAF2GI4
7. SHOOT A DIFFERENT RATIO
Many of the cameras now allow you to change the ratio of the frames to shoot something other than 3:2.
Why not switch to Square? Or Panoramic?
There's a whole other world out there for photography when you find a different format.

8. THREE ELEMENTS ONLY
I can't stress this enough!
The best images are often the ones that have the least in them and convey the strongest message.
When I'm teaching my World-Famous Workshops (bahhhh), I'm always telling my participants to simplify their images.
THREE ELEMENTS ONLY
- Beach, Water, Sky
- Fence, Field, Clouds
- Rocks, Stream, Mountains
EASY!
9. THE MAGIC THREE
Not to be confused with above, the magic three are the three magical elements that make a photo stand out from the crowd.
What are they?
A. SUBJECT
B. LIGHT
C. COMPOSITION
Photography doesn't need to be any more complicated than that!
Find a killer subject, beautifully lit with a striking composition thrown in for good measure and you'll no doubt have a good shot!
10. UNDERSTAND WHAT MAKES A GOOD COMPOSITION
Composition is one of the most critical aspects to photography yet the hardest to teach.
WHY?
Because there's no magic formula!
And that's what makes it so exciting. You can get your creative juices flowing and shoot however you want.
However, for some, the art of good compositions does not come easily. So the RULE OF THIRDS and GOLDEN MEAN are good starting points. Research these to understand what they mean.
But then dive a little deeper and understand what makes a good composition.
There's many techniques you can use - lines, shapes, patterns, colour, contrast, etc.
Here's a neat article I found online -
https://petapixel.com/2016/09/14/20-composition-techniques-will-improve-photos/

11. ROTATE YOUR CAMERA
Most of us get use to shooting in the same way - Horizontally.
It's totally understandable.
Our eyes are side-by-side next to each other, not on top of each other.
So therefore we see the world that way - from left to right, right to left.
Not top to bottom or vice versa.
However, you can open up another world by shooting vertically. Peter Lik, who I've long admired, made a name for himself back in the 1990s shooting panoramic landscapes vertically when everyone else was shooting horizontally.
The vertical orientation when shooting landscapes can get you right in close to your subject and make it feel like you could touch the subject!
12. PRACTISE, PRACTISE, PRACTISE!
Many of us don't get the chance to shoot nearly as much as we'd like. Well here's the chance to get out (in your backyard!) and practise. It doesn't have to be trekking off here, there and everywhere.
The purpose is to practise - get to know your camera better, changing the settings, reading light, practising good compositions, shooting a new subject.
Whatever it may be, now is the best time to practise!
13. LEARN TO SHOOT A NEW GENRE

I'm a landscape photographer. I love it!
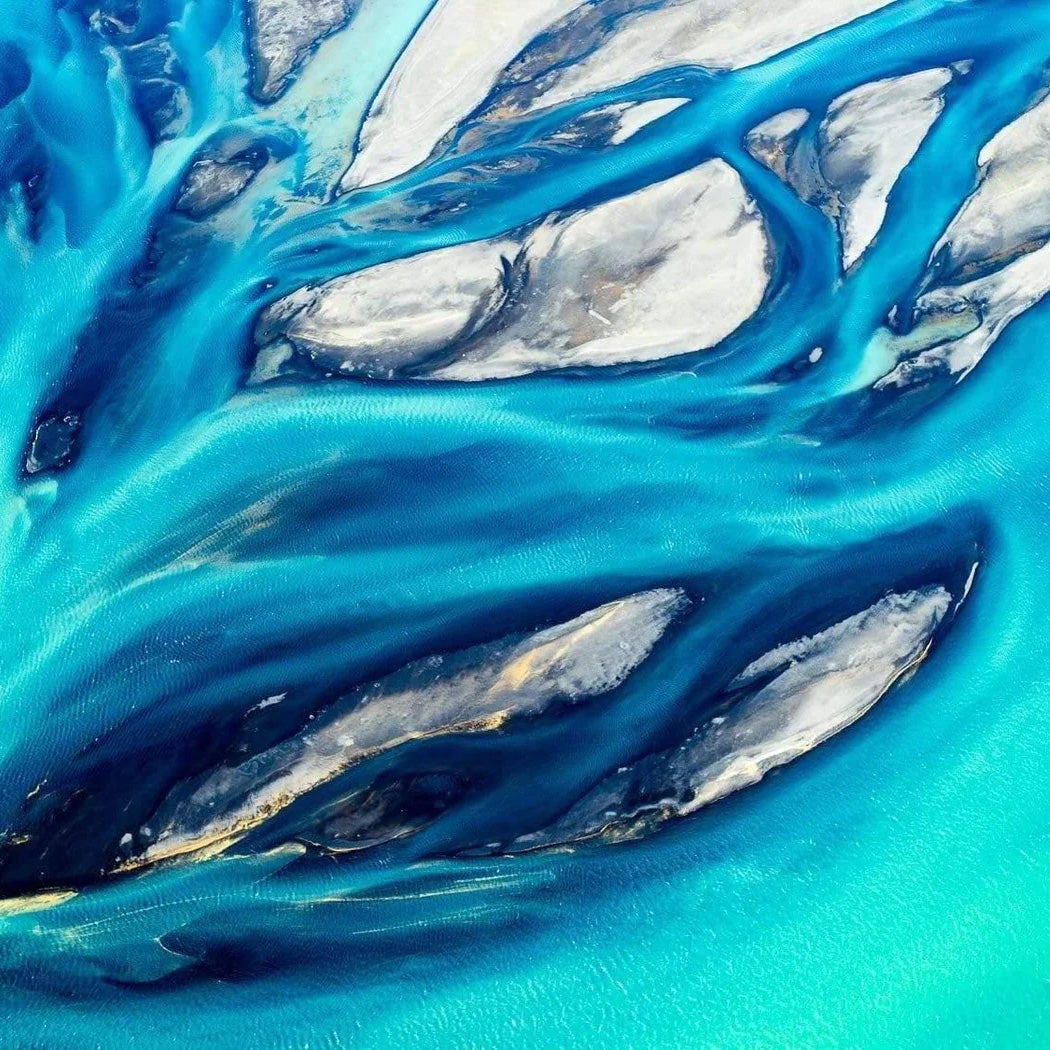
Recently however I started to concentrate on shooting a new genre - Aerial Photography.
It's expanded my creativity in ways I never thought possible. I really wasn't satisfied with shooting panoramics after 15 years and found myself wanting more.
So aerials was the artistic bent I was looking for.
What's your new genre of photography going to be?
Macro, Sport, Portraits, Lifestyle, Still Life?
Now is the perfect time to start researching.
14. FIND YOUR PASSION
Having a passion in life is one of the greatest gifts you can discover.
Passion fuels purpose and shines through in what you do.
To have a passion in photography means that your images will stand out from the crowd and be something you're proud of.
DON'T LIKE YOUR OWN PHOTOS?
Perhaps you're not passionate about your subject.
Find a passion and your photography will show it.
15. SET YOURSELF A PROJECT
We can all lack inspiration sometimes.
The best way out of that annoying rut is to set yourself a project.
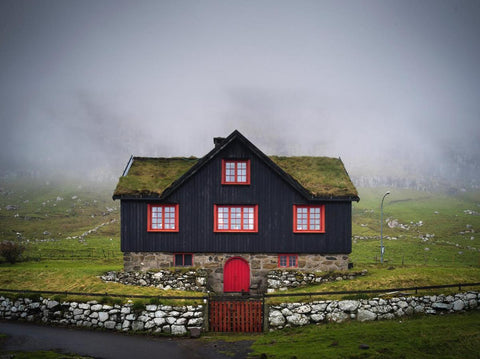
When we went to Faroe Islands a few years ago, a surprising part of our visit was the quaint fishing villages dotted around the islands. Each had its own houses, many of them locked up and only used in the summer.
As a result, one of the participants, Sobrina, decided to set herself a project. She would search for padlocks on the doors and shoot each one. There were padlocks of all different shapes and sizes, against an array of coloured doors.
It was a fabulous idea that kept her entertained for hours as we explored the islands.
And the best thing? It refined her creativity in the art of seeing!
16. RESEARCH NEW LOCATIONS
Surely there's somewhere you dream of going next?
If not, it's time to get researching!
There's a whole world out there waiting for you to shoot it.
How do I do it?
I look at other photographers work on Facebook and Instagram then google the hell out of it!
Of course, you could always just jump on my workshops page and choose a new location from there! We'd love to have you along once things get up and running again...
17. PREPARE A SHOT LIST
Now that you have your dream location sorted, make a shot list of all the things you want to capture.
My good friend and workshop participant Alan does this. He researches a place like no one else, knows exactly what he wants to capture, then chooses the workshop based on this.
It's pressure when he's on my workshops - I've got to make sure I get all the shots (and more!) that he wants!!
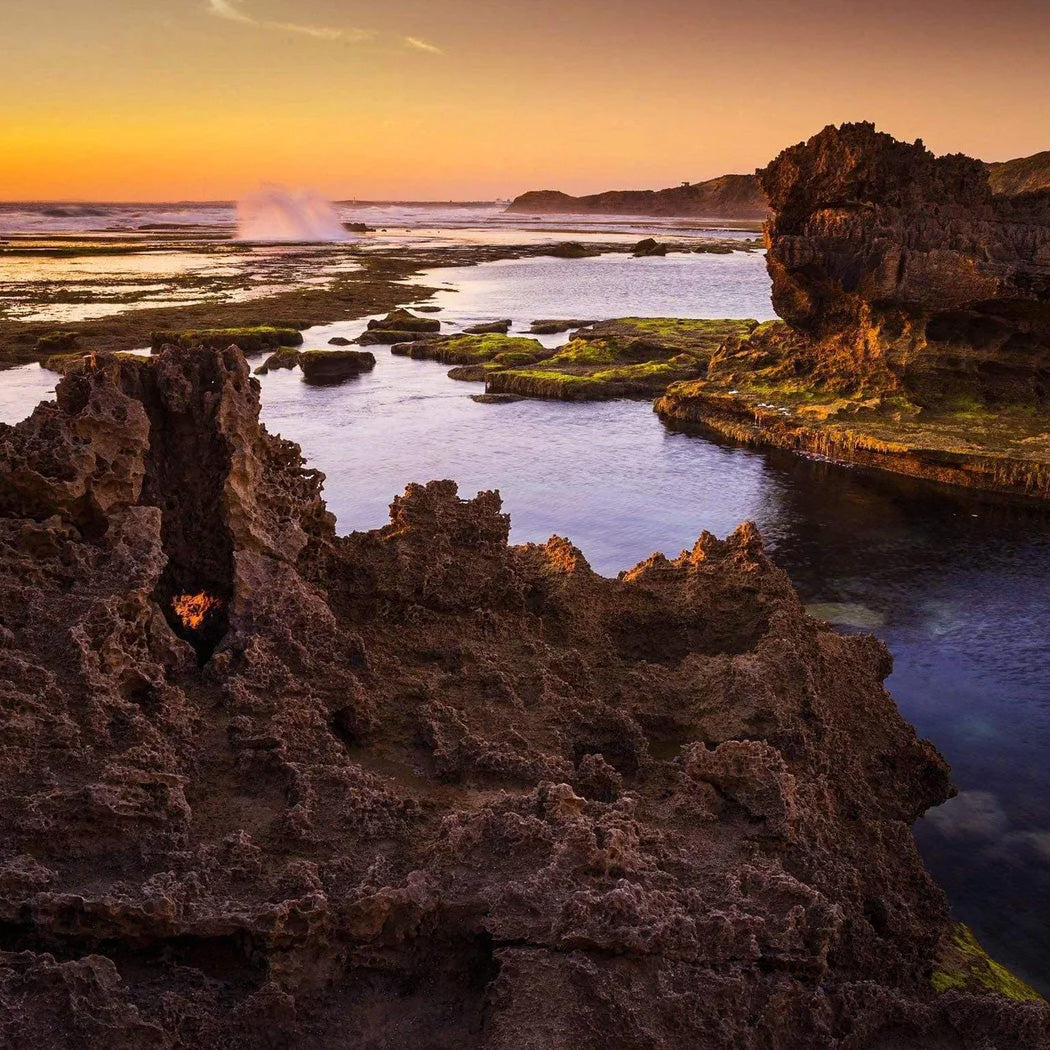
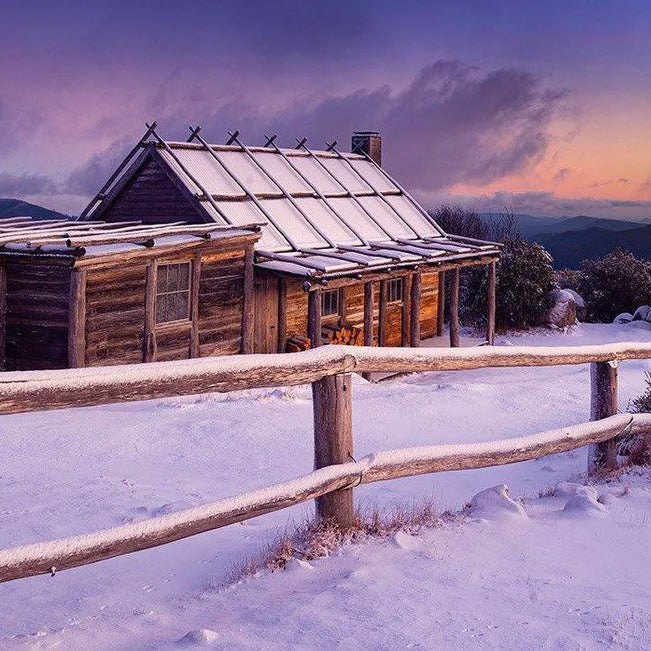
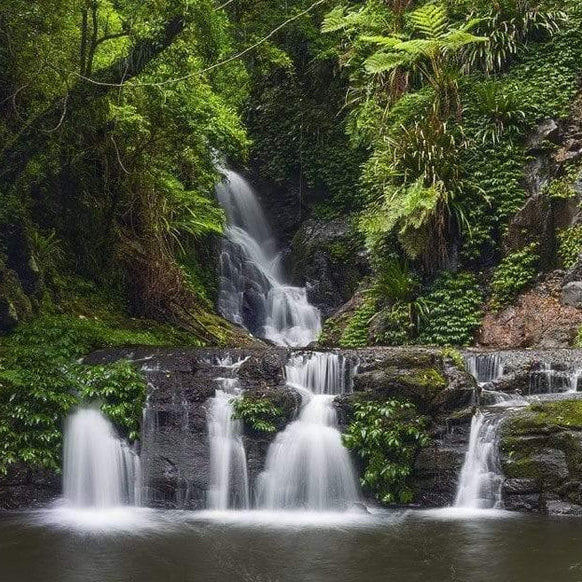
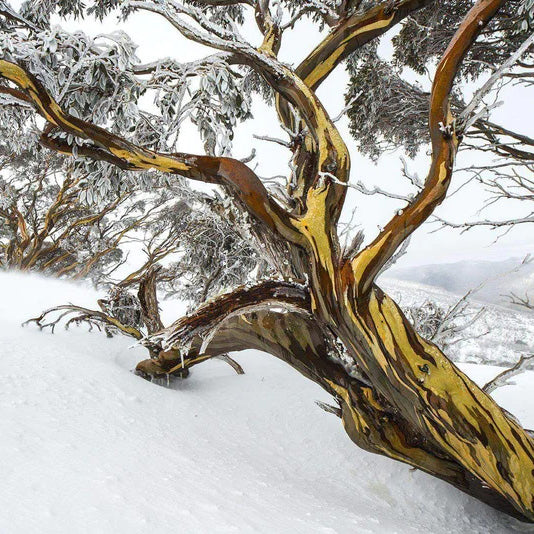
18. WHERE'S YOUR NEXT DREAM PHOTOGRAPHY WORKSHOP LOCATION?

I know, I just said it, but seriously! There's so many photographers out there offering workshops these days that every location on the planet is accessible.
Of course, it's important to choose the right one so make sure you read my tips on what to ask before enrolling in a workshop.
In these times where it's hard to see the light at the end of the tunnel, it's nice to have a dream to work towards - and of course, something to look forward to.
You can book yourself a place on my workshops TODAY for as little as $1,000.
Just head over to my Workshops Deposit page and choose your next DREAM photography location.
POST-PRODUCTION
19. CHECK THOSE BACKUPS
I'm guilty of this. Thinking I've backed up everything only to find out I haven't.
Now's a better time than any to go through your backups and make sure you have THREE - yes THREE - copies of all your photos.
Preferably two at home and one off site - mums, dads, sisters, brothers, boyfriend, girlfriend, neighbour, office, etc
Hard drives are cheap. I buy the Western Digital My Passport 4TB for approx. $100. They're small, don't need separate power (they plug into your usb port on your computer), and they last.
BUY LOTS!
20. GET YOUR PHOTOS OFF YOUR COMPUTER!
Do you know how many people complain about their computer hard disk being full then tell me all their photos are stored there?
OMG!
Get them off!
Your photos should NEVER be stored on your computer!
WHY???
Many reasons - there's not enough space, the computer will slow down significantly, if your computer gets stolen they're gone, your hard drive could fail, etc etc
Now is a good time to migrate them off your computer onto external hard drives.
If you're using Lightroom, FOR GOODNESS SAKE DON'T MOVE YOUR PHOTOS OUTSIDE OF LIGHTROOM. You'll be in a world of pain if you do.
Move them INSIDE Lightroom.
21. SORT OUT YOUR LIGHTROOM LIBRARY
Now is the perfect time to tidy up your Lightroom Library.
The best advice I can give is this - go through your photos and put them into Collections. That's a neat way of organising them so you can find them easily later.
Then 5 Star your favourites and process these so they look amazing!
Don't know what I'm talking about?
DOWNLOAD this video - it's full of useful beginner tips on using Lightroom.
22. RE-EDIT YOUR PHOTOS
I'm not a big believer in deleting my photos.
WHY?
Because I think it's a waste of time. And secondly, who's to say that your production techniques won't improve. When they do, you can then rescue those photos you thought weren't so good.
Now is a good time to learn a few new techniques and re-edit your favourite photos. Add to that the new features Adobe keep adding to Lightroom. Give them a new lease on life.
23. UPSKILL YOUR LIGHTROOM SKILLS
The beauty of photography is that there's always something to learn.
If you use Lightroom, get online and learn more about it.
Decide that once a week you're going to learn a new tool and practise that for a week before moving on to another.
I have a heap of short Lightroom Videos on my YouTube Channel to start with.
24. LEARN PHOTOSHOP
Hey, I'm the first to admit that Photoshop isn't for everyone.
Some people swear by it, others just cant get their head around it.
That's ok. It's doesn't matter what program you use, so long as you find it easy to use and get the results you want.
If the power of Photoshop is calling you, jump onto my two good friends Photoshop Training. Both Adam Williams and Christian Fletcher know their stuff!

25. REFINE YOUR WORKFLOW
WORKFLOW!
What the hell is that?
Think of it as a recipe for your editing your photographs.
I teach a workflow of 6-10 steps that covers most, if not all, photographs I take.
It's easy to follow and turns your photos from ordinary to EXTRAORDINARY.
Your workflow should be your guide to making your photos look HOT!
Here's mine. If you want to learn more, download my full Lightroom Introductory video here.
A. Download your photos and backup x3
B. Drag and Drop them into Collections
C. Five Star your favourites
D. Filter your library to show only your 5 Stars
E. Process each using the tools below
F. Check the histogram and correct any emergencies using HIGHLIGHTS and SHADOWS slider
G. Crop
H. Spot Removal
I. Gradient Filters
J. Correct Colour using Temperature/Tint Sliders
K. Adjust Exposure
L. Add Contrast
M. Add Vibrance/Saturation
N. Add Vignette
Now I hear you all saying, "That's more than 10 steps!"
Yes it is but I don't do all of these adjustments to each image.
F, G, I, J, K, L, M & N are sometimes but not always used for each and every image.
26. GET PRINTING

Now is THE PERFECT TIME to buy a printer online and learn to print at home.
Have you ever seen a print come to life as it rolls off the printer?
It's magical. It's exciting. And it's your image!
Now a word of warning - it can be tricky and may take a bit of time to master.
Buy a printer, paper and spare inks (you're going to need them!) from my good friend Jeremy Daalder at Image Science. He's a top bloke and an expert in this area.
His website has a comprehensive Knowledge Base that you want to look at.
27. MAKE A BOOK
If printing at home isn't your thing, you can create one-off books through Blurb, for example.
Most of these providers have easy-to-use software to create a book. Just drop and drag from your computer.
You can of course use the BOOK module in Lightroom also to lay it out.
BUY STUFF
28. BUY A NEW GADGET
Now it's a commonly known fact that photographers are gadget people!
There's ALWAYS something else you need to make your photography better.
A new filter, a new lens, a new camera, a new bag, a new tripod...
If you have the cash to splash, now is the time to stock up!
GO MAD!
29. BUY A DRONE
Now drones aren't everyone's cup of tea, but WOW they are good!
Whether you're shooting stills or video, they open up a whole new world of photography.
I have a DJI Mavic 2 Pro.
The Best!

30. BUY YOURSELF AN EXPERIENCE
I couldn't end this thought-provoking article without mentioning my workshops.
Have I told you about my workshops??? 🤣
You get the picture...
https://tomputt.com/collections/landscape-photography-workshops
You'll have the experience of a lifetime on my workshops - I PROMISE!
Hey, thanks for reading all the way to the end.
I hope you got something from this and please stay safe!
Cheers
Tom Putt

CONTACT US
Please include your phone number in your message
TOM PUTT GALLERY
The Tom Putt signature gallery is located in the seaside suburb of Mornington, Victoria, approximately one hour south of Melbourne. The gallery has over 70 large format artworks for sale.
Open Wednesday to Saturday 10-4pm or by appointment.
GET DIRECTIONS
BOOK AN APPOINTMENT
We'd LOVE to help you choose your next incredible artwork. Book an appointment with our expert gallery manager, Mary Trantino, either in the gallery or over the phone.
BOOK NOW